
我是廣告,點擊一下吧!
標籤
#Flutter (17) 、 #PHP (9) 、 #Laravel (7) 、 #MySQL (5) 、 #Mac (5) 、 #Dart (5) 、 #Android (3) 、 #List (2) 、 #Widget (2) 、 #Carbon (2) 、 #IDE (2) 、 #VS Code (2) 、 #Linux (2) 、 #Shell Script (2) 、 #Cursor Pagination (1) 、 #Pagination (1) 、 #floorMonth (1) 、 #subMonthNoOverflow (1) 、 #資安 (1) 、 #addMonthNoOverflow (1) 、 #subMonth (1) 、 #MySQL 效能 (1) 、 #Mac M1 (1) 、 #個人空間 (1) 、 #Android Splash Screen (1) 、 #Android vector (1) 、 #SVG (1) 、 #Directory Structure (1) 、 #SQL Injection (1) 、 #createFromTimestamp (1)
#flutter、#google_sign_in
為什麼要升級?
- 6.x 基於舊的 Google Sign-In SDK,已經被官方標註 deprecated
- 7.x 支援新的 OpenID Connect 流程,統一各平台 API
- 新增支援 nonce 參數,更安全的 ID token 驗證
差異
| 功能 | 6.x | 7.x |
|---|---|---|
| GoogleSignIn 建構 | GoogleSignIn(scopes: ['email']) | GoogleSignIn.instance.initialize(serverClientId: ...) |
| signIn | await _googleSignIn.signIn() | await GoogleSignIn.instance.authenticate(scopeHint: ['email'], nonce: ...) |
| silent signIn | signInSilently() | attemptLightweightAuthentication() |
| access token | 直接在 authentication | 透過 authorizationClient.authorizationForScopes() |
修改程式碼
6.x 寫法
try {
  final GoogleSignIn _googleSignIn = GoogleSignIn(scopes: ['email']);

  final GoogleSignInAccount? account = await _googleSignIn.signIn();
  if (account != null) {
    return GoogleUserDataModel(
      account.id,
      (await account.authentication).idToken ?? '',
      (await account.authentication).accessToken ?? '',
      account.displayName ?? '',
      account.email,
      account.photoUrl,
    );
  }
} catch (error) {
  return null;
}
return null;
7.x 寫法
try {
  await GoogleSignIn.instance.initialize(
    serverClientId: '<google-services.json → oauth_client → client_type: 3 → client_id>',
    nonce: '<optional, provide your own nonce value if required>',
  );

  GoogleSignInAccount account = await GoogleSignIn.instance.authenticate(scopeHint: ['email']);

  GoogleSignInClientAuthorization? tokenInfo = await account.authorizationClient.authorizationForScopes(['email']);

  return GoogleUserDataModel(
    account.id,
    account.authentication.idToken ?? '',
    tokenInfo?.accessToken ?? '',
    account.displayName ?? '',
    account.email,
    account.photoUrl,
  );
} catch (error) {
  return null;
}
遇到問題
iOS 滿順利的,只要 pod update 一下就好
pod update GoogleSignIn AppAuth
Android 就花了點時間,選完帳號無反應,出現 Exception: GoogleSignInExceptionCode.canceled。
I/flutter (14536): GoogleSignInException(code GoogleSignInExceptionCode.canceled, activity is cancelled by the user., null)
出現這個 Exception 這一定是使用者取消,沒設定好也可能會出現
Some configuration errors will cause the underlying Android CredentialManager SDK to return a “canceled” error in this flow, and unfortunately the google_sign_in plugin has no way to distinguish this case from the user canceling sign-in, so cannot return a more accurate error message.
有幾種可能:
- Firebase SHA-1 指紋設定錯誤,Debug 跟 Release 的都要設定,記得也要加上 Google Play 的應用程式簽署金鑰憑證,從 Play 商店下載的才能使用。
- serverClientId 設定錯誤,要拿
google-services.json檔案中oauth_client裡client_type為 3 的client_id。 - Android package name 錯誤。
Your google-services.json contains a web OAuth client, which should be an oauth_client entry with client_type: 3. This should have been created automatically when enabling Google Sign In using the Firebase console, but if not (or if it was later removed), add a web app to the project and then re-download google-services.json.
#Flutter、#Dart、#markdown_widget、#LaTeX、#Markdown
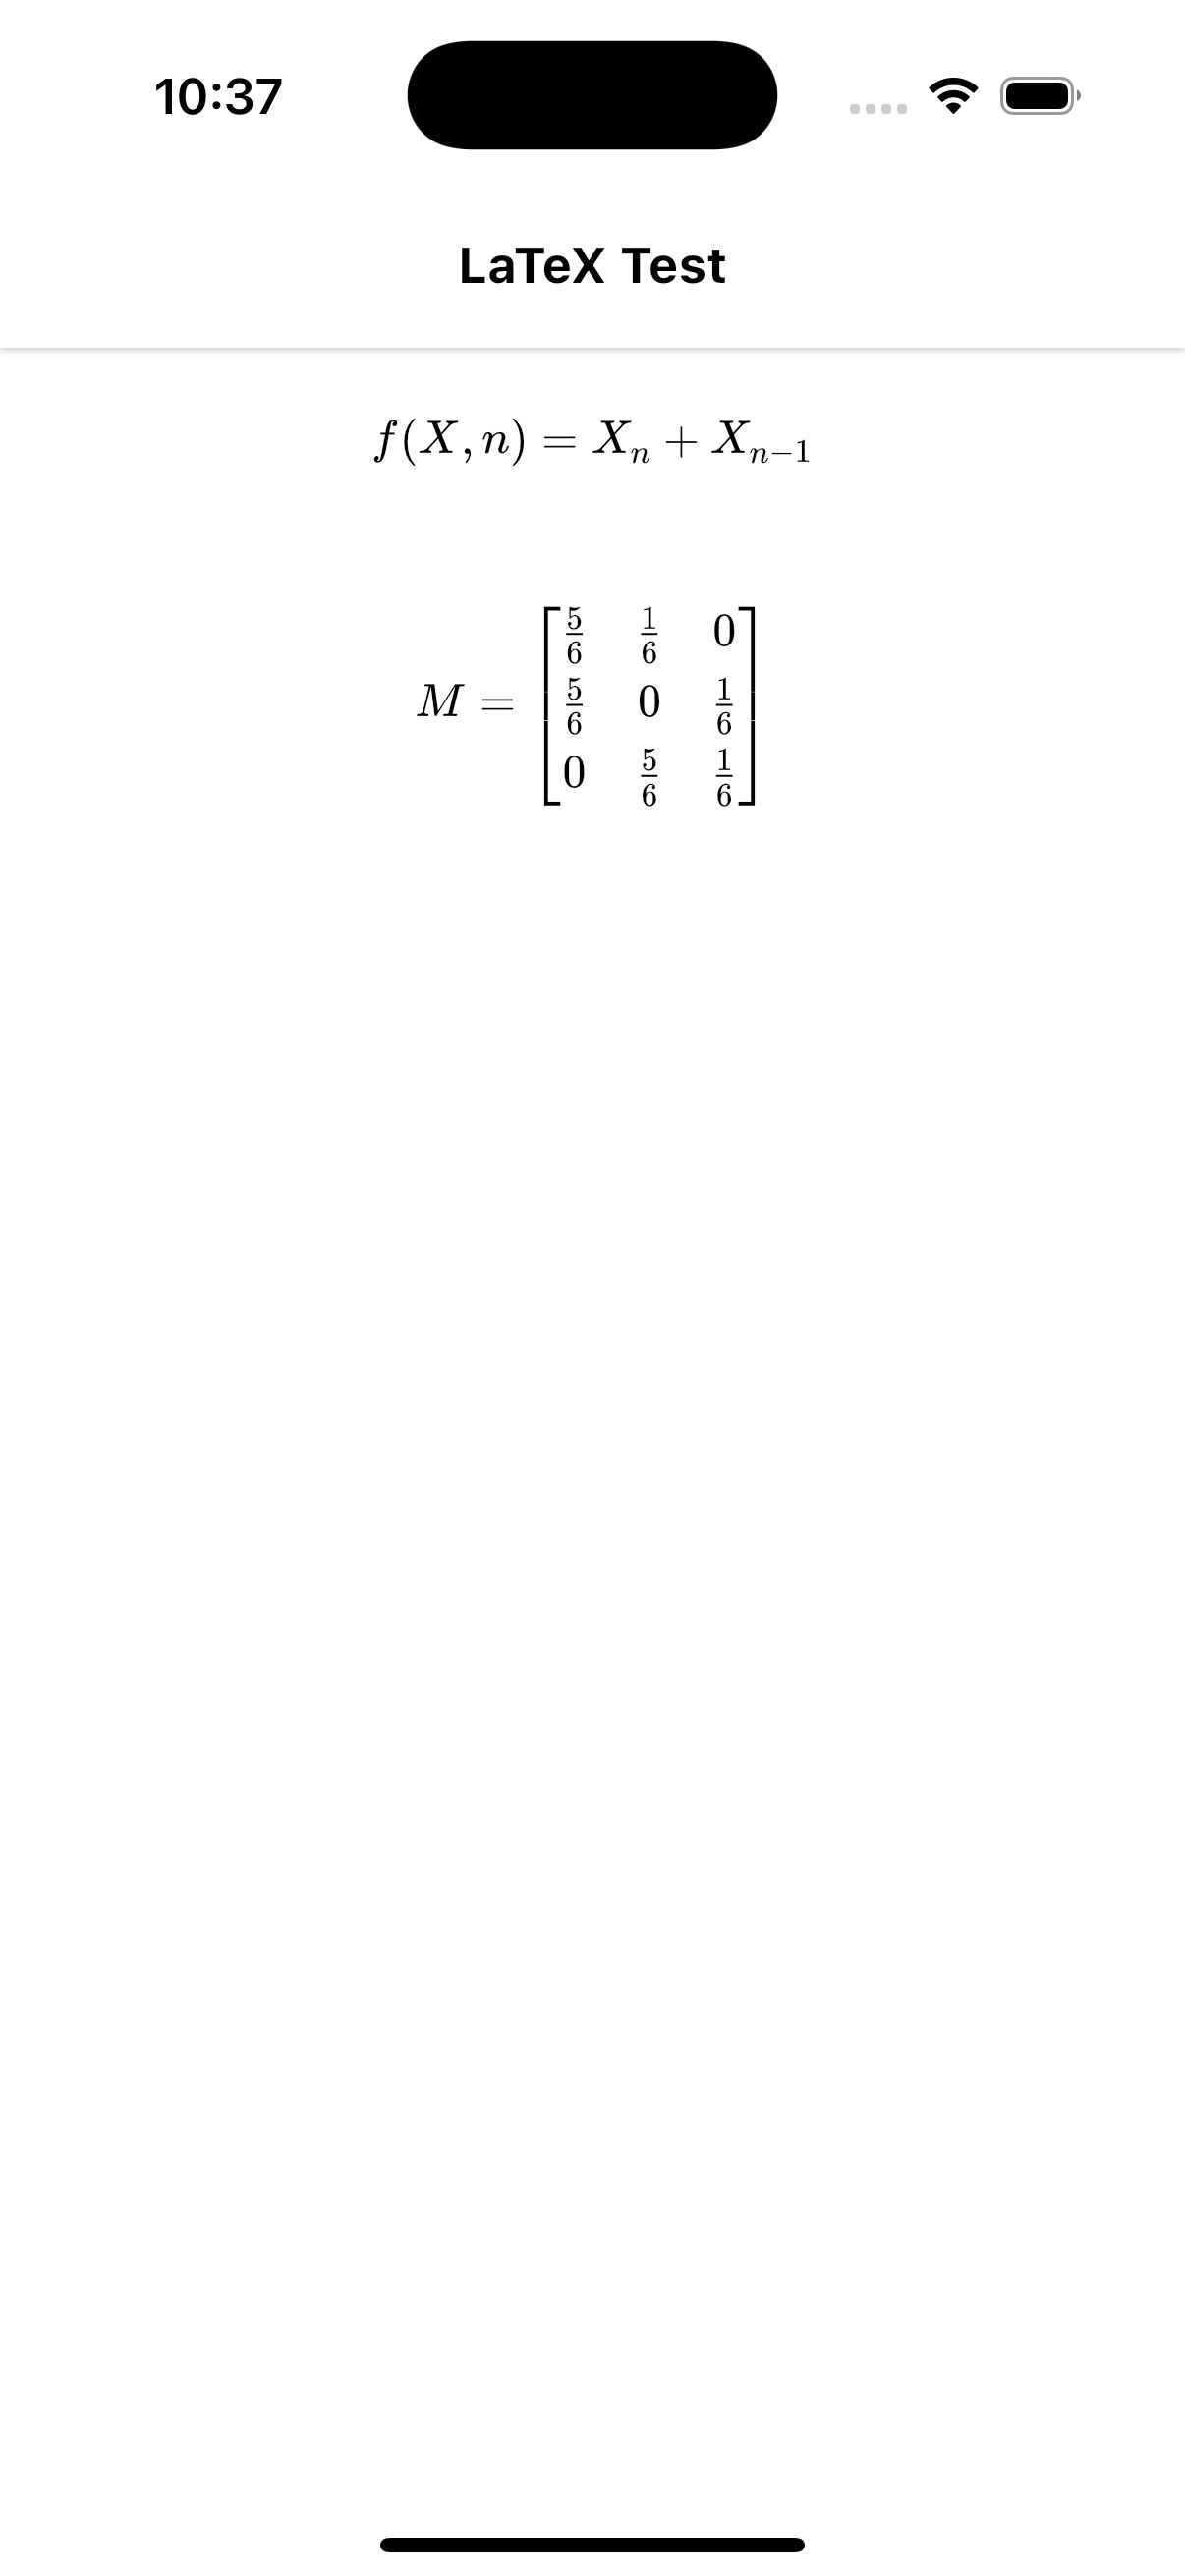
在 Flutter 中使用 markdown_widget 與 flutter_math_fork,讓 Markdown 支援 LaTeX 數學公式渲染。
Preview
Install
dependencies:
    markdown_widget: ^2.3.2+8
    flutter_math_fork: ^0.7.0
latex.dart
import 'package:flutter/material.dart';
import 'package:markdown_widget/markdown_widget.dart';
import 'package:flutter_math_fork/flutter_math.dart';
import 'package:markdown/markdown.dart' as m;

SpanNodeGeneratorWithTag latexGenerator =
    SpanNodeGeneratorWithTag(tag: _latexTag, generator: (e, config, visitor) => LatexNode(e.attributes, e.textContent, config));

const _latexTag = 'latex';

class LatexSyntax extends m.InlineSyntax {
  LatexSyntax() : super(r'(\$\$[\s\S]+\$\$)|(\$.+?\$)');

  @override
  bool onMatch(m.InlineParser parser, Match match) {
    final input = match.input;
    final matchValue = input.substring(match.start, match.end);
    String content = '';
    bool isInline = true;
    const blockSyntax = '\$\$';
    const inlineSyntax = '\$';
    if (matchValue.startsWith(blockSyntax) && matchValue.endsWith(blockSyntax) && (matchValue != blockSyntax)) {
      content = matchValue.substring(2, matchValue.length - 2);
      isInline = false;
    } else if (matchValue.startsWith(inlineSyntax) && matchValue.endsWith(inlineSyntax) && matchValue != inlineSyntax) {
      content = matchValue.substring(1, matchValue.length - 1);
    }
    m.Element el = m.Element.text(_latexTag, matchValue);
    el.attributes['content'] = content;
    el.attributes['isInline'] = '$isInline';
    parser.addNode(el);
    return true;
  }
}

class LatexNode extends SpanNode {
  final Map<String, String> attributes;
  final String textContent;
  final MarkdownConfig config;

  LatexNode(this.attributes, this.textContent, this.config);

  @override
  InlineSpan build() {
    final content = attributes['content'] ?? '';
    final isInline = attributes['isInline'] == 'true';
    final style = parentStyle ?? config.p.textStyle;
    if (content.isEmpty) return TextSpan(style: style, text: textContent);
    final latex = Math.tex(
      content,
      mathStyle: MathStyle.text,
      textStyle: style.copyWith(color: Colors.black),
      textScaleFactor: 1,
      onErrorFallback: (error) {
        return Text(textContent, style: style.copyWith(color: Colors.red));
      },
    );

    return WidgetSpan(
      alignment: PlaceholderAlignment.middle,
      child: !isInline
          ? Container(
              width: double.infinity,
              margin: EdgeInsets.symmetric(vertical: 16),
              child: Center(child: latex),
            )
          : latex,
    );
  }
}
Usage
import 'package:project_name/latex.dart';
import 'package:markdown_widget/markdown_widget.dart';

......

MarkdownWidget(
  data: '''\$\$f(X,n) = X_n + X_{n-1}\$\$

\$\$
M =
\\begin{bmatrix}
\\frac{5}{6} & \\frac{1}{6} & 0 \\\\[0.3em]
\\frac{5}{6} & 0 & \\frac{1}{6} \\\\[0.3em]
0 & \\frac{5}{6} & \\frac{1}{6}
\\end{bmatrix}
\$\$''',
  markdownGenerator: MarkdownGenerator(
    inlineSyntaxList: [LatexSyntax()],
    generators: [latexGenerator],
  ),
),


......
#PHP、#Laravel、#Carbon、#createFromTimestamp
最近碰到 Laravel 11 的專案,突然發現 createFromTimestamp toDateTimeString 的結果變為 UTC+0。
<?php
use Carbon\Carbon;

$now = Carbon::now();

// 1745305106
$timestamp = $now->timestamp;

// 2025-04-22 14:58:26
$now->toDateTimeString();

// 2025-04-22 06:58:26
Carbon::createFromTimestamp($timestamp)->toDateTimeString();
立刻去檢查了 config/app.php 的 timezone 跟 env,發現確實有設定 APP_TIMEZONE=Asia/Taipei, 往下挖掘了新舊專案的底層 Carbon Source Code 後發現原來是 Laravel 11 已經將 Carbon 從 2 升級到 3 (https://laravel.com/docs/11.x/upgrade#carbon-3),而 Carbon 3 的 createFromTimestamp 如果不帶入 Timezone 將會預設使用 UTC+0,與 Carbon 2 如果不帶入 Timezone 將會抓取 date_default_timezone_get() 的方式大不相同。
查了一下 Github 上也有 Issues 討論: https://github.com/briannesbitt/Carbon/issues/2948
可以看到在這個 commit 中將如果為 null 預設抓取 date_default_timezone_get 的程式碼移除了。
- 	protected static function getDateTimeZoneNameFromMixed($timezone): string
+ 	protected static function getDateTimeZoneNameFromMixed(string|int|float $timezone): string
  	{
-		if ($timezone === null) {
-			return date_default_timezone_get();
-		}
所以未來要使用 createFromTimestamp 時就必須帶入 timezone 參數。
<?php
use Carbon\Carbon;

Carbon::createFromTimestamp($timestamp, config('app.timezone'));即便官方文件後來有補上此說明,但因為 $timezone 參數可為 null,所以對 Unit Test 沒完整判斷 assertEquals的系統將會沒有症狀的出現 Bug,設為必填至少會有 ArgumentCountError ,個人覺得第二參數設為必填較佳。
<?php
/**
 * Create a Carbon instance from a timestamp and set the timezone (UTC by default).
 *
 * Timestamp input can be given as int, float or a string containing one or more numbers.
 */
public static function createFromTimestamp(
    float|int|string $timestamp,
    DateTimeZone|string|int|null $timezone = null,
): static {
    $date = static::createFromTimestampUTC($timestamp);

    return $timezone === null ? $date : $date->setTimezone($timezone);
}#Laravel、#PHP、#CORS
CORS(Cross-Origin Resource Sharing,跨來源資源共享)是一種網頁安全機制,允許瀏覽器在不同來源(不同網域、協議或埠)之間安全地請求資源。它是 HTTP 標頭的一部分,能夠讓伺服器控制哪些來源可以存取它的資源,從而防止惡意網站發送未經授權的請求。
出於安全考量,瀏覽器內建了同源政策(Same-Origin Policy, SOP),限制網頁只能向相同來源的伺服器發送請求。如果網頁嘗試存取不同來源的資源(如 API、圖片、字型等),瀏覽器會阻擋這些請求。CORS 透過額外的 HTTP 標頭讓伺服器明確告訴瀏覽器「這些來源是被允許的」,從而放寬同源政策的限制。
如果後端沒有設定允許跨來源會收到 Http Status Code 200,但會是 CORS error。
Request URL: https://mtsung.com/api/members
Request Method: GET
Status Code: 200 OK
Referrer Policy: strict-origin-when-cross-origin
在 Laravel 9.2 前的版本必須自己安裝 fruitcake/laravel-cors ,在 Laravel 9.2 以後 Laravel 核心已包含 fruitcake/laravel-cors 了,可以直接使用以下指令產生 config/cors.php
php artisan config:publish cors產生的 config/cors.php 如下
<?php

return [

    /*
    |--------------------------------------------------------------------------
    | Cross-Origin Resource Sharing (CORS) Configuration
    |--------------------------------------------------------------------------
    |
    | Here you may configure your settings for cross-origin resource sharing
    | or "CORS". This determines what cross-origin operations may execute
    | in web browsers. You are free to adjust these settings as needed.
    |
    | To learn more: https://developer.mozilla.org/en-US/docs/Web/HTTP/CORS
    |
    */

    'paths' => ['api/*', 'sanctum/csrf-cookie'],

    'allowed_methods' => ['*'],

    'allowed_origins' => ['*'],

    'allowed_origins_patterns' => [],

    'allowed_headers' => ['*'],

    'exposed_headers' => [],

    'max_age' => 0,

    'supports_credentials' => false,

];
預設他會將 api/* 與 sanctum/csrf-cookie 加入 paths 中,如果要全部 route 都允許的話直接改成 ['*'] 即可
'paths' => ['*']若要在純 PHP 專案中解決可以加上
<?php
// 前面不要有其他輸出
header('Access-Control-Allow-Origin: *');
header('Access-Control-Allow-Methods: *');
header('Access-Control-Allow-Headers: *');
注意 header() 前不要有其他 echo 字元,否則瀏覽器會解析不到。
更換原因
Docker Desktop 在本人 MacBook Air 上實在跑太慢了,光 MySQL 要啟動完全就需要好幾分鐘,記憶體不夠的話可能還會 Crash 要重開,換了 OrbStack 後真的夠速,不用幾秒鐘就啟動完成,效能也提升不少。
需要 macOS 13.0 以上
INFO Preview builds expire after 30 days. Stable versions will never expire. macOS 13.0 or newer is required.
安裝
用 brew 安裝
brew install orbstack將 Docker 的設定遷移到 OrbStack(因為 Docker Desktop 跟 OrbStack 會一起啟動所以在我的 Air 上跑滿久的)
orb migrate dockerINFO[0000] Starting Docker Desktop
INFO[0000] Gathering info
INFO[0001] progress=4
INFO[0007] Migration started started=true
INFO[0007] Migrating image laradock-php-fpm:latest
INFO[0007] Migrating image laradock-nginx:latest
INFO[0007] Migrating image laradock-redis:latest
INFO[0007] Migrating image laradock-mysql:latest
INFO[0007] Migrating image laradock-workspace:latest
INFO[0052] progress=8
INFO[0052] Migrating image laradock-mongo:latest
INFO[0068] progress=12
INFO[0068] Migrating image laradock-phpmyadmin:latest
INFO[0216] progress=16
INFO[0216] Migrating image docker:20.10-dind
INFO[0235] progress=20
INFO[0235] Migrating volume laradock_mssql
INFO[0239] progress=24
INFO[0239] Migrating volume 55aca73f1c578bc790ddb329bd6ed433cffcf8d6c6a0826f22347cb4a5036d9c
INFO[0244] progress=28.000000000000004
INFO[0244] Migrating volume 60550b5dc34ebd6c738b38ecd7709f6336d0ecc0a66b9759ac1c5f2825b286da
INFO[0246] progress=32
INFO[0246] Migrating volume 606eda52d89ff90a55ff744181dc1c7894fac7ddf3414633f4508e4769f5edca
INFO[0249] progress=36
INFO[0249] Migrating volume a09de01cd0c9ab3da1f7a6a7a9dcf990689dcc59db6c142ca26e05979f21a01e
INFO[0253] progress=40
INFO[0253] Migrating volume laradock_docker-in-docker
INFO[0256] progress=44
INFO[0256] Migrating volume laradock_elasticsearch
INFO[0260] progress=48
INFO[0260] Migrating network laradock_backend
INFO[0260] progress=52
INFO[0260] Migrating network laradock_frontend
INFO[0260] progress=56.00000000000001
INFO[0273] progress=60
INFO[0309] progress=64
INFO[0347] progress=68
INFO[0468] progress=72
INFO[0468] Migrating container /laradock-php-fpm-1
INFO[0468] Migrating container /laradock-nginx-1
INFO[0468] Migrating container /laradock-workspace-1
INFO[0468] Migrating container /laradock-phpmyadmin-1
INFO[0468] Migrating container /laradock-mysql-1
INFO[0474] progress=76
INFO[0474] Migrating container /laradock-redis-1
INFO[0474] progress=80
INFO[0474] Migrating container /laradock-docker-in-docker-1
INFO[0474] progress=84
INFO[0475] progress=88
INFO[0475] progress=92
INFO[0475] progress=96
INFO[0481] progress=100
INFO[0482] Stopping Docker Desktop
INFO[0497] Done切換
可以透過指令讓 Docker Desktop 跟 OrbStack 快速切換
# Switch to OrbStack
docker context use orbstack
# Switch to Docker Desktop
docker context use desktop-linux
設定硬體資源限制
如果要限制使用的資源記得到 command + , > System 設定記憶體跟 CPU 限制
或是下指令修改
# 限制 RAM Limti 2GB
orb config set memory_mib 2048
# 限制 CPU 800% (7 = 700%, 8 = 800% 以此類推)
orb config set cpu 8
# OrbStack 重啟
orb stop
orb start
License
When you install OrbStack, you will get a Pro trial that allows commercial use for 30 days. After the trial, it will degrade to Free (personal use only).
安裝完後有 30 天的 Pro 免費試用,結束後回歸個人使用,如果有商用並達到年收入 10,000 美元以上就需要付費。
個人版本雖然功能都一樣也可以用,但如果有達到條件乖乖付錢吧!